
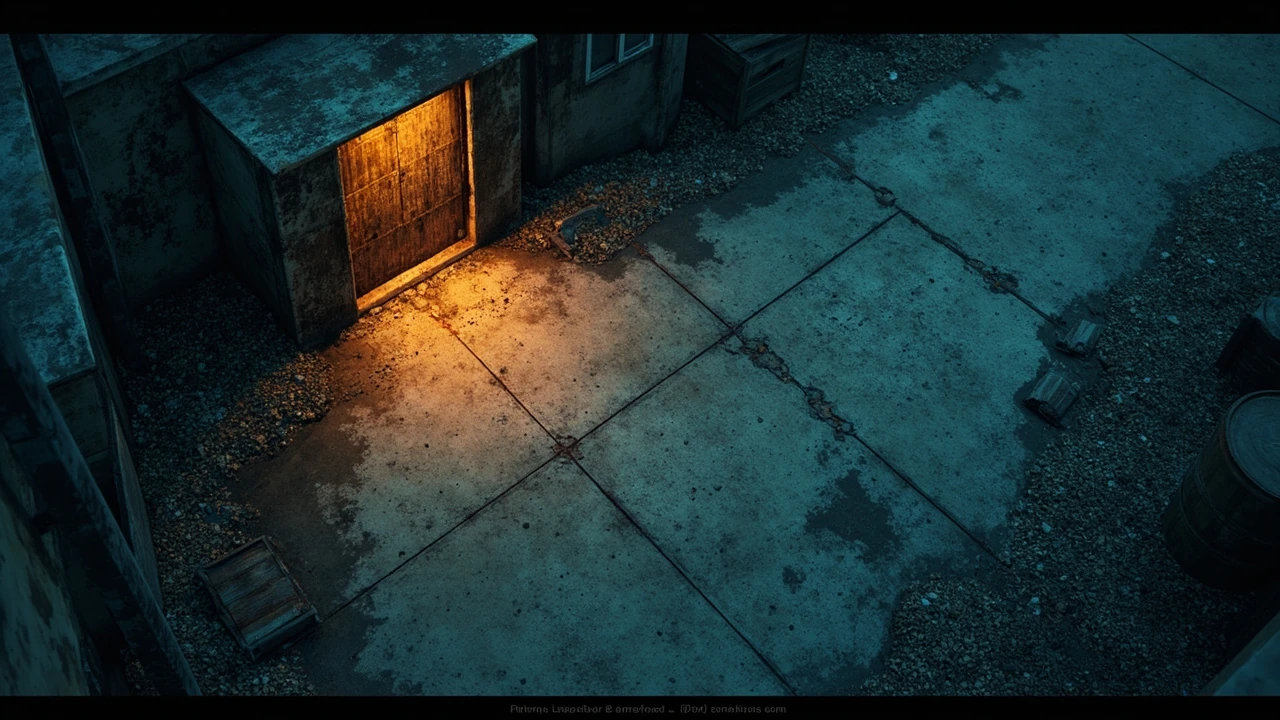
Blue gate cellar key location in ARC Raiders: what the item actually does
The blue gate cellar key location is one of the most searched waypoints for players running the Blue Gate map in ARC Raiders, because the key is the only reliable way to open a small set of locked cellar doors scattered through the industrial compound. Raiders who learn the route can convert a noisy surface fight into a quieter basement sweep, picking up containers that other players usually miss. The value of the item is not the key itself but the difference between a locked door and an extra cache of scrap, ammo, and crafting parts during a single raid.
For a player guide, the question is rarely abstract. The typical Raider who searches for the blue gate cellar key location wants three things: where the key is most often found, which cellar door it actually fits, and how to reach that door without burning the whole timer in a firefight. This article treats each of those questions as a separate problem and gives a route-first answer, then layers the surrounding context a careful player needs when the meta shifts between patches.
Throughout the guide, the term cellar refers specifically to the basement-style rooms attached to certain Blue Gate structures. They are distinct from regular interior rooms and from the surface bunkers that require a separate hatch interaction. The For additional context, Blue Gate Cellar Key entry on the ARC Raiders database describes the key as a special item used to unlock specific cellar doors in the Blue Gate map, with the doors usually containing resources or alternative paths. That description frames the rest of the article: the key is a routing tool, not a primary objective.
Why the blue gate cellar key matters for a raid run
ARC Raiders rewards map knowledge as much as aim. A player who knows the blue gate cellar key location can plan a quieter opening route, skip the worst chokepoints during the first two minutes, and pivot to extraction when other teams are still trading shots on the surface. Treating the key as a routing tool rather than a collectible is the difference between a clean run and a wasted spawn.
Three concrete reasons make the key worth tracking:
- It opens cellars that are otherwise inaccessible without spending explosives on a hatch, which usually attracts every nearby squad.
- Cellar containers are skipped by a large share of solo players, so the competition for the loot inside is lower than for surface caches.
- The cellars are useful safe rooms during a hot extract window, since most Raiders do not push into basements when the timer is below two minutes.
None of these advantages require a full build guide. They are map knowledge that fits inside the first raid of a session, and they are exactly the kind of detail that survives a meta change because they are tied to geometry rather than to a specific weapon or augment.
Where the blue gate cellar key spawns in the map
According to the ARC Raiders item database, the Blue Gate Cellar Key is found by exploring various parts of the map, frequently in the vicinity of the cellars it opens. That phrasing is intentional: the key tends to spawn near the doors it unlocks rather than in a fixed chest, which is why the most reliable approach is to learn a small loop rather than to memorize one crate.
The practical spawn pattern looks like this:
- On the desks, shelves, and side tables of the two-story buildings nearest each cellar entrance.
- Inside guardhouse-style outbuildings that flank the gate approach, often next to a lantern or a tipped chair.
- On the bodies of light resistance mobs that patrol the alleys between the gate and the cellars, which means combat can sometimes pay for the key it unlocks.
Because the spawn is procedural within those zones, the blue gate cellar key location should be thought of as a small region rather than a single tile. A Raider who rushes straight to one building will sometimes find an empty shelf; a Raider who sweeps the surrounding three or four rooms will almost always have the key in the inventory by the time they reach the cellar door.
Step-by-step route to the blue gate cellar key
The route below assumes a solo or duo spawn on the eastern approach to Blue Gate, which is the most common match opening. Adjust the cardinal directions to whichever drop pod the match assigns, but keep the structure: gate approach, key sweep, cellar entry, extract pivot.
- Spawn in, check the immediate compound for a resistance patrol and clear it quietly. The first minute is when most firefights start, and the key search benefits from a clean start.
- Move along the outer fence toward the gate structure. Do not cut through the central yard, where sight lines from the watchtower cover almost the entire surface.
- Enter the two-story building nearest the gate. Loot the upper floor first; the key has a higher spawn rate on elevated surfaces than on the ground floor in most sessions.
- If the key is not there, sweep the adjacent guardhouse and the long workshop that runs parallel to the gate wall. The key tends to be on a side table, a crate, or a low shelf in these rooms.
- Check any patrolling NPCs along the alley between the gate and the cellar hatch. Their loot pools overlap with the spawn zone, and the key is a common drop in this strip.
- With the key in hand, move to the cellar hatch and interact to open it. The animation is short enough to finish before a squad can rotate from the watchtower, but only if the surface is already quiet.
The order is deliberate. Searching the closest rooms first, then widening the loop, reduces the chance of missing the key while standing on top of the door that needs it. It also keeps the Raider within a short retreat distance to the nearest cover if a hostile squad spawns on the gate.
Cellar doors the key actually unlocks
The Blue Gate Cellar Key is specific to the cellars on the Blue Gate map. It does not open hatch doors on other maps, surface bunkers, or the locked storage rooms in the central compound. Treating the key as a universal unlocker is the most common mistake players make when they first find one.
Within Blue Gate, the relevant cellar entrances cluster around the gate structure and the lower warehouse row. The map below summarizes the three zones where the key is worth carrying and what each one offers.
| Cellar zone | Position relative to the gate | Typical contents | Risk level |
|---|---|---|---|
| Gatehouse cellar | Directly beneath the main gate office | Two to three containers, occasional weapon attachment | High, exposed entry |
| Workshop cellar | South-east of the gate, under the long workshop | Scrap-heavy, some crafting parts | Medium, side approach |
| Warehouse cellar | Along the lower warehouse row, away from the gate | Mixed containers, occasional augment material | Low, longer route |
Choosing a zone is a trade-off between loot type and exposure. The gatehouse cellar is the fastest payoff but the loudest, the workshop cellar is the most consistent scrap route, and the warehouse cellar is the safest option when the match has already collapsed into a three-team fight near the extract.
Reading the map: terrain, sight lines, and entry angles
Blue Gate is built around a single dominant structure with a tall watchtower, a pair of guardhouses, and a long warehouse row that runs along the southern fence. Sight lines from the watchtower cover most of the surface yard, which is why the cellar entrances are valuable: they drop the player below the tower’s angle. Approaching the blue gate cellar key location from the southern fence line keeps the Raider out of that cone for most of the route.
The most useful terrain features to memorize are:
- The watchtower ladder, which is a hard commitment. Climbing it marks the player for every team on the map, but it is the best vantage point to confirm whether a cellar entrance is currently occupied.
- The two guardhouse roofs, which are reachable from a low wall and give a short, safe look over the gatehouse cellar entrance without exposing the player to the watchtower for more than a few seconds.
- The warehouse gutters, which run low and parallel to the cellar doors. Moving along the gutter is slower than the central yard but stays outside the main sight lines.
None of these routes are secret. They are simply less common than the central yard push, and the difference between common and uncommon is usually the difference between a contested cellar and a quiet one.
Loot value and what the cellars actually contain
Cellar contents in ARC Raiders are not unique items. They use the same container pools as surface caches, but with a slightly higher weighting toward crafting parts and ammo. For a solo Raider, the realistic value of opening a cellar with the blue gate cellar key is two to four containers of mid-tier loot, occasionally including a weapon attachment or a small augment material. That is enough to fund a few rounds of crafting and to break even on the time spent searching for the key.
The table below frames a fair expectation rather than a best case. Solo players should treat the cellar as a steady secondary source, not as a jackpot run.
| Loot category | Expected yield per cellar | Match impact |
|---|---|---|
| Scrap metal | Three to six units | Fuels basic crafting and repairs |
| Ammunition | One to two partial stacks | Extends a fight without a return to surface caches |
| Crafting parts | One to three items | Enables mid-match augment swaps |
| Weapon attachment | Low chance, one slot | Noticeable upgrade when it drops |
| Augment material | Low chance, single unit | Long-term value across multiple raids |
Players who run the cellar as a primary objective tend to be disappointed. Players who run it as a quiet detour between two surface fights tend to come out ahead, because the cellar acts as a small bank that smooths out unlucky surface rolls.
Timing the cellar against the match clock
ARC Raiders match timers turn routing decisions into arithmetic. A typical solo run has enough time for one major objective and one quiet detour, and the cellar is best treated as the detour. The danger is overcommitting: spending six minutes searching for the key and another three minutes looting the cellar leaves very little room for a clean extract, and a bad extract wipes the value of the run.
Three timing rules keep the route honest:
- Cap the key search at three minutes. If the key has not appeared in the gatehouse, guardhouse, or workshop, switch to a surface cache and reattempt on the next raid.
- Cap the cellar sweep at two minutes. Two containers are usually enough to justify the key, and three is the realistic upper limit before extraction pressure builds.
- Leave the compound at the halfway mark of the match timer, regardless of whether the cellar still has unlooted containers. A banked run is worth more than a perfect run that ends in a contested extract.
These numbers are not universal. Aggressive duos can stretch them, and cautious solo players should shrink them. The point is to have a written rule before the match starts, because in the moment the cellar always feels worth one more minute.
Squad play vs solo play around the cellar
The blue gate cellar key location behaves differently depending on team size. Solo players benefit most from the quiet approach and the warehouse cellar, where the risk of a third-party squad is lowest. Duos can afford to take the gatehouse cellar if one player holds the surface and the other loots below, but they should split the responsibilities explicitly rather than both dropping into the basement at once.
Three-person squads face a different problem. The cellar is rarely worth a full squad’s attention, because the loot is fixed and the space is tight. A trio is usually better off leaving one player on a guardhouse roof to watch the entry while the other two sweep the cellar, then regroup at the warehouse gutter for the pivot to extract.
The comparison below summarizes how each team size should weight the cellar against other objectives.
| Team size | Cellar priority | Recommended entry | Extract timing |
|---|---|---|---|
| Solo | Secondary objective | Warehouse cellar via southern fence | Leave at half timer |
| Duo | Equal to a strong surface cache | Workshop cellar with surface overwatch | Leave at two-thirds timer |
| Trio | Detour, not a primary route | Gatehouse cellar only if uncontested | Leave at three-quarters timer |
These weights are not fixed. A patch that reduces surface loot or increases cellar container value will shift them, and a meta dominated by long-range loadouts will make the warehouse cellar more attractive for solos. The article is a baseline; the live game is the test.
Common failure modes when running the blue gate cellar key
Most failed cellar runs come from a small set of recurring mistakes. Listing them explicitly makes them easier to avoid, because each one is a decision the player makes before the first shot.
- Searching the cellar before the key is confirmed in the inventory. A Raider who opens the hatch without the key still has to leave it open, which marks the entrance for every squad in earshot.
- Looping back to the gatehouse after a failed surface cache. The watchtower is the worst place to be while the timer is below the halfway mark, and the gatehouse cellar sits directly beneath it.
- Dropping into the cellar while a squad is still visible on the surface. The cellar entrance is a funnel, and a player below cannot reposition quickly if the entrance is locked down.
- Spending the whole match in the Blue Gate compound. The key is valuable because it unlocks a quiet detour, not because it justifies ignoring the rest of the map.
Each of these failures is recoverable on the next raid. The cost is mostly time, but in a session with limited matches, time is the most expensive resource the player has.
How the blue gate cellar key location fits the wider ARC Raiders loop
ARC Raiders is built around a loop of surface raids, base crafting, and squad progression. Map knowledge like the blue gate cellar key location is the layer that sits between raw aim and full meta play. A new player learns the surface routes first; an experienced player learns the cellars, hatches, and side rooms that make those routes faster and safer.
That is also why the cellar key is worth tracking even when its direct loot value is modest. Each successful cellar run adds a small, repeatable advantage to a session, and a session of small advantages is what separates a steady player from one whose results swing wildly between raids. The key is a way to convert map knowledge into a concrete gain, which is exactly the kind of upgrade a careful player can build on across a whole season.
For players who want to push further into the loop, the next step is pairing the cellar route with a consistent extract plan. The cellar is the inward half of the run; the extract is the outward half, and treating them as a single decision is what turns a quiet detour into a banked result.
Practical checklist before you queue
Running the blue gate cellar key location well is mostly about preparation. The list below is short on purpose. A longer checklist tends to be ignored, while a short one gets read in the loadout screen.
- Decide which cellar zone fits the current squad size before the match starts.
- Plan a fallback surface cache in case the key does not spawn within three minutes.
- Set a personal extract timer and stick to it, even if the cellar still has an unlooted container.
- Keep at least one healing or utility item reserved for the cellar-to-extract transition, when most third-party fights start.
These four checks are the difference between a route and a habit. Players who treat them as part of the loadout screen will see the cellar key as a reliable tool rather than a lucky find.
Frequently asked questions
Where is the blue gate cellar key location in ARC Raiders?
The key spawns procedurally in the rooms near the cellar entrances on the Blue Gate map, especially the gatehouse upper floor, the guardhouses, and the long workshop south-east of the gate. Treat it as a small zone rather than a single crate, and sweep three or four rooms before assuming the key is missing.
Does the blue gate cellar key work on every locked door?
No. The key only opens the specific cellar doors on the Blue Gate map. It does not open surface bunkers, hatch doors, or storage rooms in the central compound, and it does not work on other maps.
Is the blue gate cellar key worth the time to find?
For solo and duo players, yes, as long as the search is capped at about three minutes. The cellar acts as a quiet detour that smooths out unlucky surface rolls, even when the contents are modest. Trio squads usually get less value because the loot is fixed and the space is tight.
Can the cellar be used as a safe room during extract?
Often, yes. Most Raiders do not push into basements when the match timer is below two minutes, so a cellar with a single covered entrance is a reasonable fallback position. It is not a guarantee, and a squad that has tracked your position can still collapse on the hatch.
What is the best cellar entrance for a solo player?
The warehouse cellar along the lower warehouse row is usually the safest for solos. The approach is longer, but the entry stays out of the watchtower’s main sight line, and the route to extract is shorter from that side of the compound.
Does the cellar key respawn every match?
Yes, the key respawns with the match, using the same procedural rules as the surface caches. A failed search in one raid does not affect the next raid, which is why the route is worth reattempting even after a dry run.
What should I do if another squad is already on the key?
Skip the cellar and pivot to a surface cache. The cellar is a routing tool, not a primary objective, and contesting it against a prepared squad usually costs more than it returns. Reset the route on the next raid.
How do I extract safely after looting the cellar?
Leave through the southern fence line rather than the central yard, cap your time in the compound at the halfway mark of the match timer, and keep a healing or utility item in reserve for the final stretch. A banked run is worth more than a perfect run that ends in a contested extract.
Do patch notes change the cellar key route?
Sometimes. Container pools and spawn weighting can shift between patches, and a major loot rebalance can change how valuable the cellar is relative to surface caches. Recheck the route at the start of each season, and treat the tables here as a baseline rather than a fixed schedule.
Is the blue gate cellar key location useful for new players?
Yes, because it teaches a quieter routing style early. New players who learn the cellar as a detour tend to develop better map awareness faster than players who only run the central yard, and the cellar is a forgiving place to practice positioning and timing.




Leave a Reply